
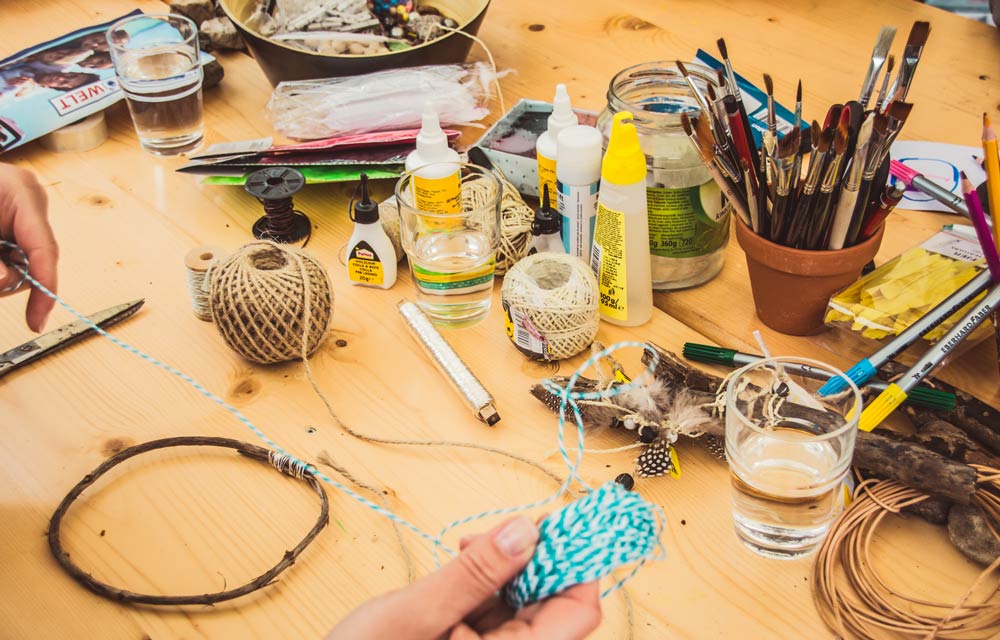
Have you been spending countless hours at your sewing machine? Do you consider yourself a sewing expert? So, what could be more satisfying than taking it to the next level: passing on your knowledge to people who want to learn sewing. With the right tools, you can organise sewing classes and turn it into a business in its own right. Follow these few tips and you’ll be ready to get started!
Contents
- Finding students
- Choosing what you will teach
- Creating a lesson plan
- Setting the price of your classes
- Finding a location for your classes
1. Finding students
Before you start organising sewing classes, you should find out if there is a need for it around you. If no one is interested in sewing in or around your city, the project seems risky.
Look for existing sewing schools and courses. Their presence means that there is demand for these classes but also that you will have to stand out to attract students to your classes. However, don’t be discouraged if there are already well-established courses, which may seem “better” than yours as it is a matter of opinion, and you probably have your own personal style to contribute.
No other class or school on the horizon? Then ask people around you if this might be of interest to them, or if anyone has ever complained about a lack of sewing classes around the city. Don’t start if you don’t find any evidence of interest, or maybe slowly start from home with a low start-up cost – work part-time on it and see where the idea and the project take you.
2. Choosing what you will teach
Will you teach sewing? embroidery? both? It’s up to you to choose what you want to teach. It seems appropriate to focus on a few specific techniques rather than trying to cover too much ground. It is generally better to be an expert in a few areas than average in everything.
If you are not familiar with certain sewing or embroidery techniques, do not teach them. There is nothing worse than being left without a solution when faced with the demands of a student who expects a minimum of knowledge from you. Learn before you teach – your students see you as a role model, and if you disappoint them, it will have an impact on your classes and their reputation.
To be perfectly organised, you can plan one type of class on Tuesdays, another on Thursdays, and a final one on Saturdays. They will be aimed at different audiences and will allow you to vary your offer. Weezevent can help you set up sessions in less time than it takes to sew up a sock with a hole in it.
3. Creating a lesson plan
Will you be teaching beginners or people with some sewing experience? Will your lessons focus on several projects (e.g. two shapes of dresses, three cuts of T-shirts, etc.), a single theme (e.g. sewing a skirt for beginners) or just one technique (e.g. sewing a zipper)?
It seems preferable to teach specific techniques or projects, such as how to cross stitch a napkin or crochet a scarf, rather than to teach sewing as a whole. The more successfully your students master a technique or project, the more they will want to continue learning from you.
The number of techniques or projects taught, the number of sessions, and their duration, must also be carefully considered. This is also true for the programme of the classes. We recommend you to teach difficult techniques at the beginning of the class, when the students’ attention is still fresh. They will be more receptive to your advice and better able to put it in practice.
With beginners, you should start with the basics: how to use a sewing machine, how to sew in a straight line, etc.
4. Setting the price of your classes
When you decide on the price for your sewing classes, you must first choose your price unit: an hour, a session, a day, a month, a certain number of projects, etc. Many elements will influence your pricing. For example, the complexity of the techniques taught, the duration of the class, the prices applied by competitors, and your contribution in terms of equipment/tools will play a significant part.
Write a lesson plan, with a list of sessions and techniques or projects. This will give you an estimate of the complexity and duration of each sewing class.
Regardless of the price set, be sure to collect your fee before each class. To do this, you can use a user-friendly online tool: an online registration solution. This ensures that you receive your fees on time. Above all, students who have paid for their class on a website will be more motivated to attend, compared with undecided people who have been given the choice between paying on location or online.
Choose the hourly rate you want to apply and multiply it by the number of teaching hours. Then divide it by the number of students, and you will have found your fair price.
Then adjust according to demand. If it is high, you can increase prices, and conversely if it demand is low. In both cases, don’t overdo it, it’s rarely a good solution.
5. Finding a location for your classes
The location of your classes may vary greatly depending on the expected number of students. You can use your studio for a private lesson but will need a large room for a group lesson. Mostly, be careful not to dedicate your entire budget to the venue, especially if you need to rent specific equipment – sewing machines, lamps, scissors, etc. – and/or purchase supplies – fabrics, yarns, ribbons, etc. – for your students.
Generally, teachers start their sewing class business at home, with a room turned into a sewing studio. In any case, your main driver will be passion rather than money. Over time, the business may prove to be profitable, but you will go through several stages first, and you must be determined to offer the best classes to your students. Then, there may come a time when you need to look for the perfect venue.
Get started now with the right tools, including our all-in-one registration solution. Its many user-friendly services will be a welcome help from day 1 of your business venture! Discover them by clicking on the button below:
