A concert is a unique, festive moment full of memories you will want to keep for a long time. Taking good quality photos can be tricky, and there are many factors involved: the quality of your camera or smartphone, movement in front or around you, lighting and backlighting and, of course, your location. Following some steps is essential to get ready and get good-quality photos.
Need help? Here are 7 tips to help you take good, quality concert photos.
Summary
1. Adjust the ISO
ISO, or the sensitivity of your camera’s sensor to light, is essential for optimising your photos’ quality during a concert.
A higher ISO sensitivity will increase the image’s brightness and vice versa.
Therefore, increase the ISO of your camera to at least 1000 to compensate for the lack of light (this also prevents blurring and allows you to capture the light better).
However, keep in mind that this requires knowing the limits of your camera and its ability to “bump up” the ISO without producing too much digital “noise” (the roughness/graininess that appears in photos when you increase the ISO too much).
Also, don’t forget to reset the ISO to lower values or to AUTO mode after the concert.
2. Have a memory card with enough free space
Often overlooked: the available space on the memory card is a central element if you are going to photograph a concert with a camera. The images take up much space on the card, especially if you take them in RAW format, which is highly recommended.
You will need a memory card of at least 32 GB to capture every moment and get the best possible photos.
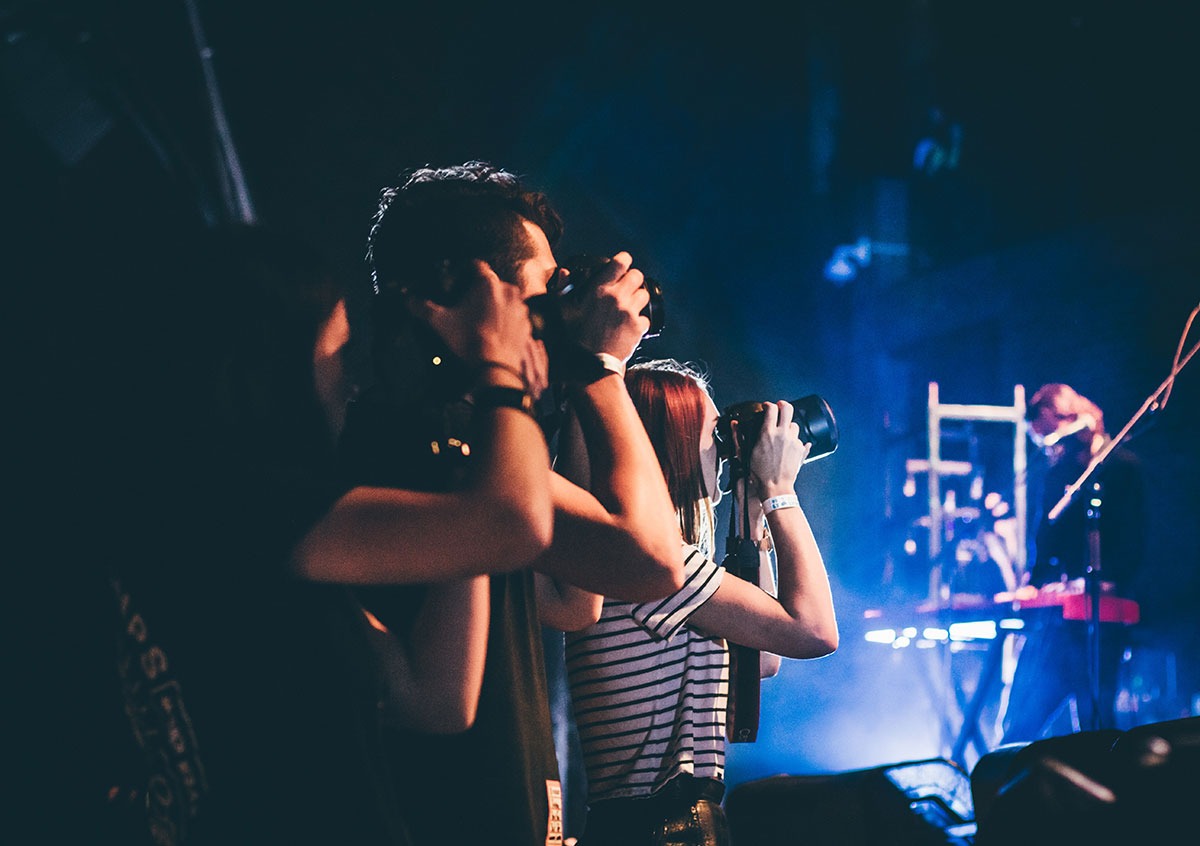
3. Choose your location wisely
Choosing where to stand is crucial to photographing concerts and getting quality photos.
The ideal locations vary depending on the type of photos you want to take and the viewing position you want to use:
- The moat or photo pit: It is perfect for taking close-up photos of artists. This way, you can see the faces of the musicians up close.
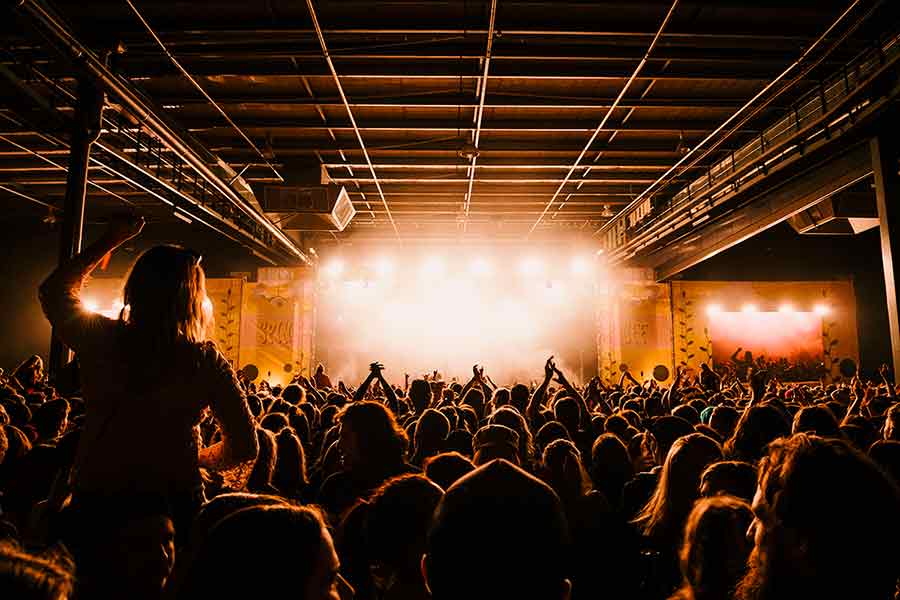
- Ambience photos: Taken from a certain height or distance, ambience photos often include a wider audience shot.
You can also dare to try other points of view, for example, from the stage or backstage.
Your location choice will also depend on the quality of your camera. If you use a smartphone, a distant location is not advisable, as zooming significantly degrades the photos’ quality.
Do you want to organise a concert and implement an online ticketing system? Discover how here!
4. Use the camera’s manual mode
All cameras usually have “Aperture Priority” and “Manual” modes. While it may be tempting to use Aperture Priority Mode and let the camera do the work for you, this setting will not give you the same control as Manual Mode.
Indeed, when photographing concerts, you must be aware of your surroundings and adjust your camera settings to suit a particular shot or angle. The manual mode will allow you to preset your camera parameters and modify them as the concert progresses and the scenery and lighting effects change…
5. Choose a fast shutter speed
Both the focal length and the artist’s movement affect the shutter speed. To fix the singer’s or musician’s figure while they are moving, a shutter speed of 1/250 to 1/125s is necessary. Of course, this rule no longer applies if you deliberately emphasise the artist’s movements using a slow shutter speed.
Remember to change the shutter speed depending on the lighting and the performers on stage. To get images of the crowd, you can also change these settings. You can opt for slower shutter speeds of 1/250s or less to create a more dynamic motion effect.
6. Avoid using a camera with a flash
Although flash often compensates for the lack of light in the room, it is generally not advisable to use it for your photos.
The quality provided by the flash is usually not good, and its use is often very disturbing to the people next to you.
Instead of using flash, adjust your camera or smartphone settings to adapt to low light conditions and get great photos every time.
7. Avoid zooming if you use a smartphone
No matter how good your smartphone camera is, zooming always diminishes the quality of the image.
Have you ever noticed that an image becomes progressively pixelated when enlarged? When you do this when taking photos, something similar happens. As a result, images will appear distorted.
Instead, try to get as close as possible to the artist and the stage. You must settle for more distant photos if you can’t do that.
Do you want to organise a concert? Discover Weezevent’s solutions for ticketing, access control, cashless payment and CRM!

